Working with Dashboards
Creating your first dashboard
With all the options available in SenseOps UI Builder, let's quickly create a solution with a dashboard in it. Follow the steps along to create a solution.
Step 1: Click on New solution and fill the required fields in the 'Create solution' modal and Step click on the Create button.


Step 2: Click to open the newly created solution and you'll land on the Customize boards page. Right now there are no boards available.

Step 3: Click on the New Board button to create a new board and fill all the required details and Step click on Create button. A new board is successfully created.


Step 4: Click on the newly created board to open it. You'll see a blank board with options to edit board, add new stories, create modal.
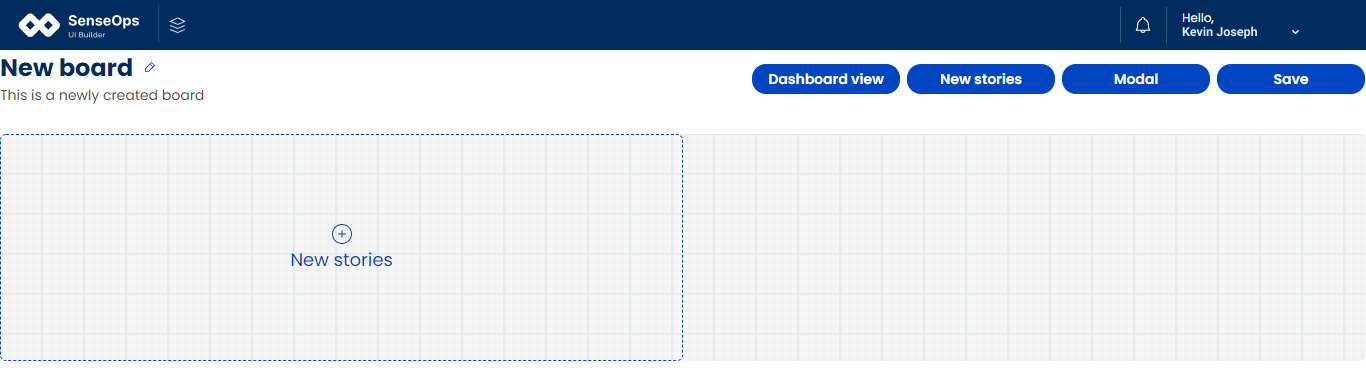
Step 5: Click on New stories button to add stories to your board. A modal with available stories will popup. Select the stories you want to add and close the modal. The stories will be added to your board.

Step 6: Once the stories are added, you can rearrange them by dragging and resize them by using their handles. Click on a story to access its handles.

Step 7: Once you're done adding stories click on the Save button to save the changes. Click on the Dashboard view button to navigate to the dashboard you created.

Now you've successfully created your first solution with a dashboard. For more control over your solution, you can check the detailed documentation for solutions, boards & stories to add more functionalities, event triggers, filters, etc.