Installation
This section guides you through installing and launching SenseOps Code Management, from verifying prerequisites to completing the initial setup.
Prerequisites
The prerequisites listed below apply to both Qlik Sense Enterprise and Qlik Sense SaaS environments unless explicitly stated otherwise.
1. Windows Server Requirements
-
Operating system: Windows Server 2022 (or later)
-
Minimum Hardware Requirements:
- CPU: 4 vCPUs (or equivalent physical cores)
- Memory: 16 GB RAM
- Storage: Minimum 100 GB of available disk space (excluding OS and system files)
-
Administrator rights: Local administrator rights are required for the installation process.
2. Software & Dependencies
Before starting the installation, ensure the following software and dependencies are available on the server:
-
[Node.js]: Version 20 or later must be installed before deployment.
-
[Git]: Install the latest version of Git.
-
[PostgreSQL]: Version 16 or later must be installed before deployment.
-
Code Management installer: Download the latest version of the SenseOps Code Management setup package from your SenseOps account.
3. Downloading the Code Management Installer
You'll need a SenseOps account to download the Code Management installer.
If you do not already have an account:
- Visit senseops
- Open My account
- Create your SenseOps account and sign in.
After logging in:
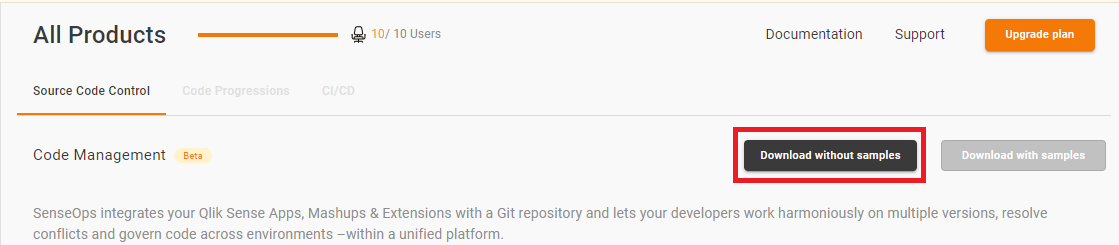
- Navigate to the All products section.
- Select Code Management.
- Click Download without samples to download the latest installer package.
4. Network & Port Configuration (Only for Qlik Enterprise)
- Code Management server port: Ensure port 4040 is free and accessible for the Code Management server.
- Qlik Sense Engine Service (QES) : Port 4747 must be made free in firewall for engine server connections.
- Qlik Sense Repository Service (QRS) : Port 4242 must be made free in firewall for repository server connections.
- Qlik Sense Proxy Service (QPS) : Port 4243 and 443 must be made free in firewall for proxy server connections.
Firewall Configuration:
| Port | Service | Recommendation |
|---|---|---|
| 5432 | PostgreSQL | Same as above |
| 4040 | Web Admin UIs | Bind to localhost or use VPN access only |
Restricting access to management ports helps protect your infrastructure from unauthorized access and brute-force attacks.
5. SSL Certificate Requirements
- A valid SSL certificate is required to enable secure (HTTPS) access.
- The certificate must be issued for the domain used by end users (e.g., alerts.yourcompany.com).
Fetching and extracting assets
To download the Code Management installer, log in to your SenseOps account and navigate to the App Modules section. From the available products, select Code Management to access the download options.
Step 1: Select Code Management, click "Download without samples" and download the SenseOpsCodeManagement_(version).zip folder.
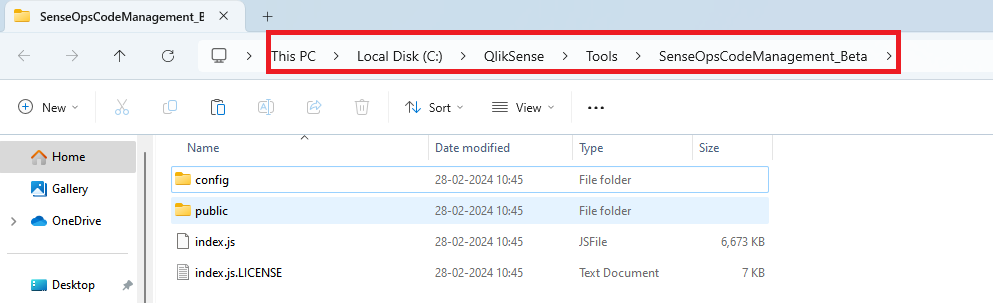
Step 2: Navigate to the QlikSenseShare or Qlik Sense folder and create a separate folder, for instance "Tools" and extract the zip contents into it. Ensure that the recommended path for extraction is followed which should be C:\QlikSenseShare\Tools.
Step 3: Go to the msi folder inside the extracted files and locate the SenseOpsCodeManagement.msi setup file.
Run the file in Command Prompt with Administrator access to start the installation wizard.

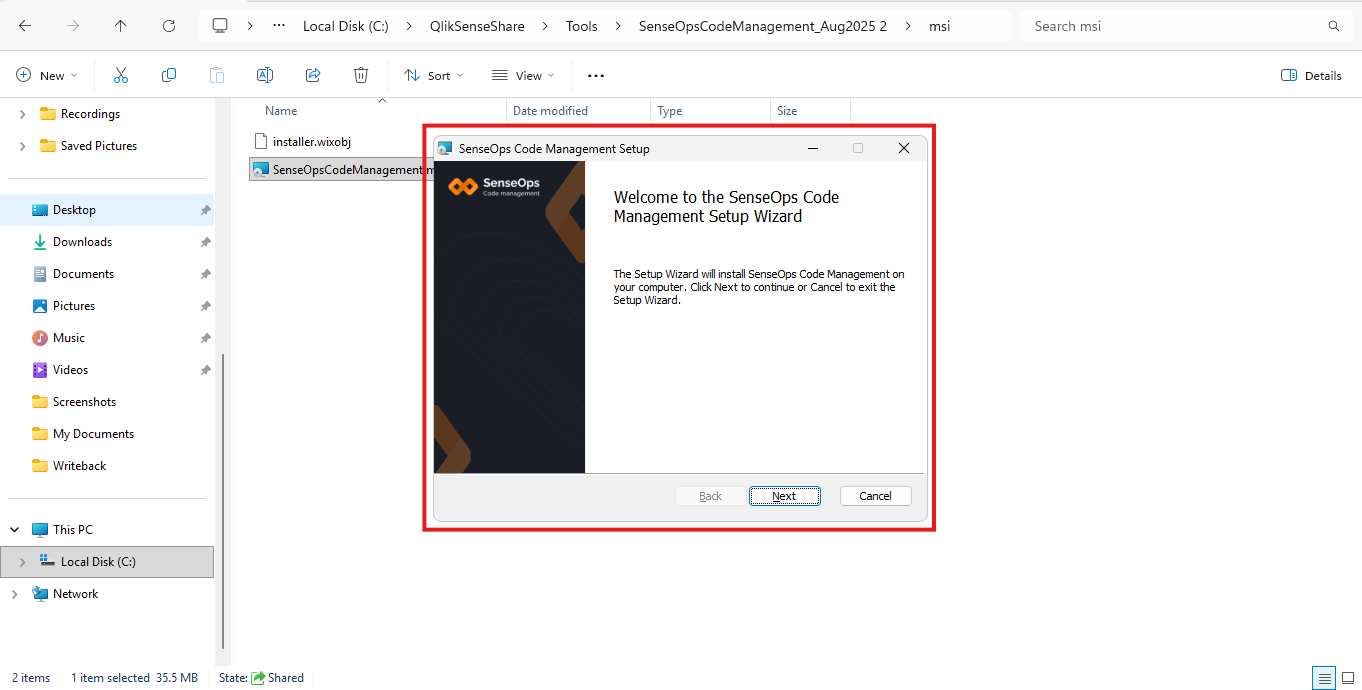
Step 4: The SenseOps Code Management Setup Wizard window appears. Click Next to proceed.
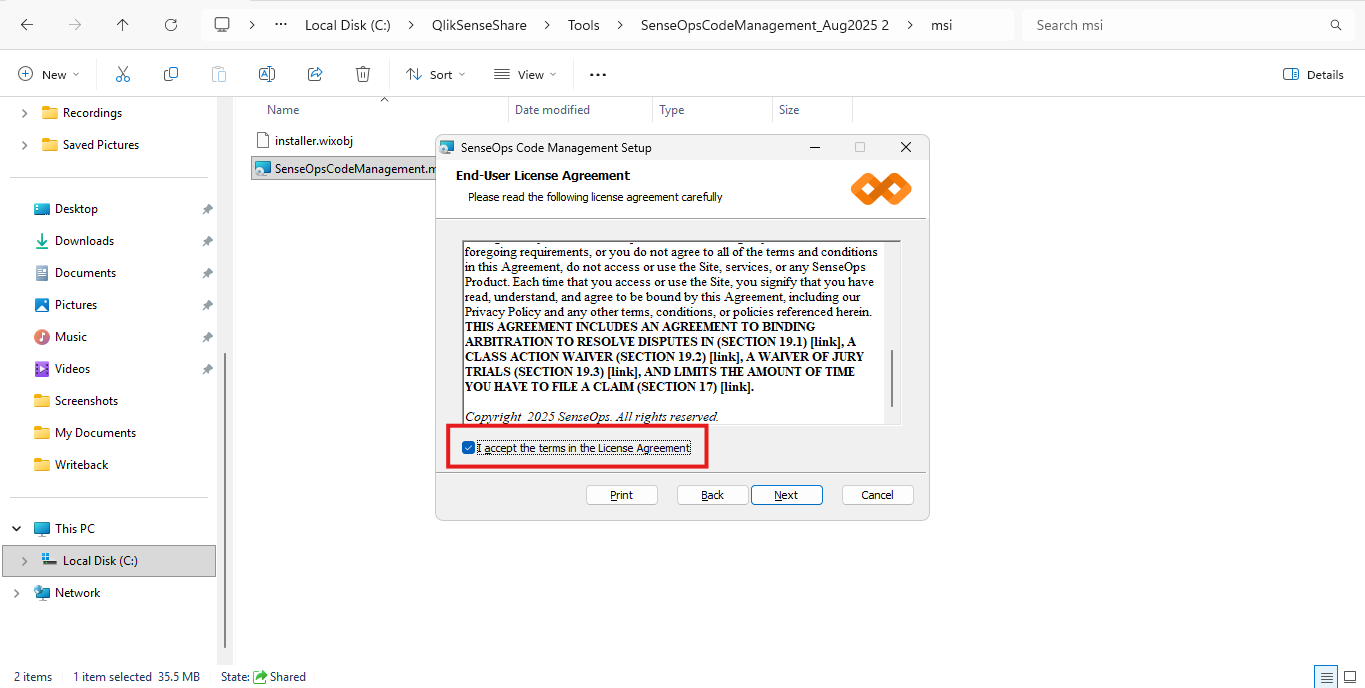
Step 5: Read and accept the End-User License Agreement by selecting “I accept the terms in the License Agreement”, then click Next.
Step 6: Choose the Destination Folder for installation. By default, it installs to:
C:\Program Files (x86)\SenseOps Code Management\
You may change the path if required. Click Next to continue.

Step 7: Click Install to begin the installation process.

Step 8: The setup wizard will now install the necessary components. Wait for the installation to complete.
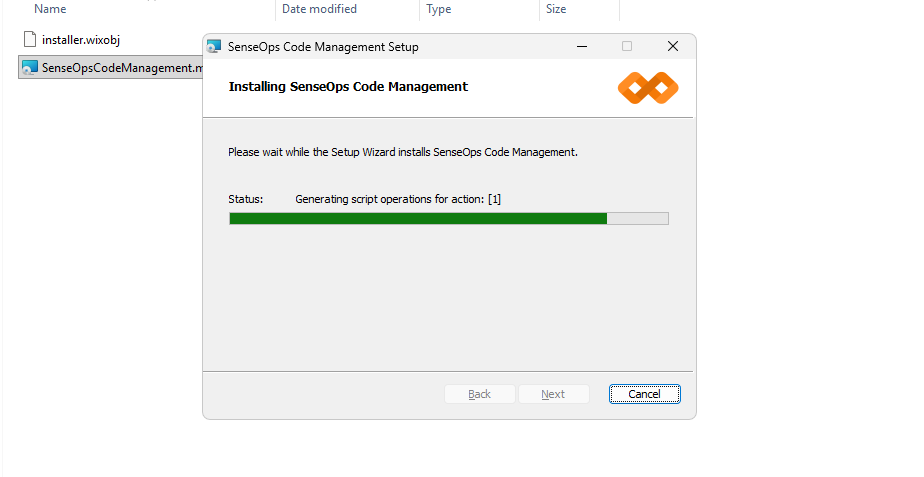
Step 9: Once the installation finishes successfully, click Finish to exit the setup wizard.
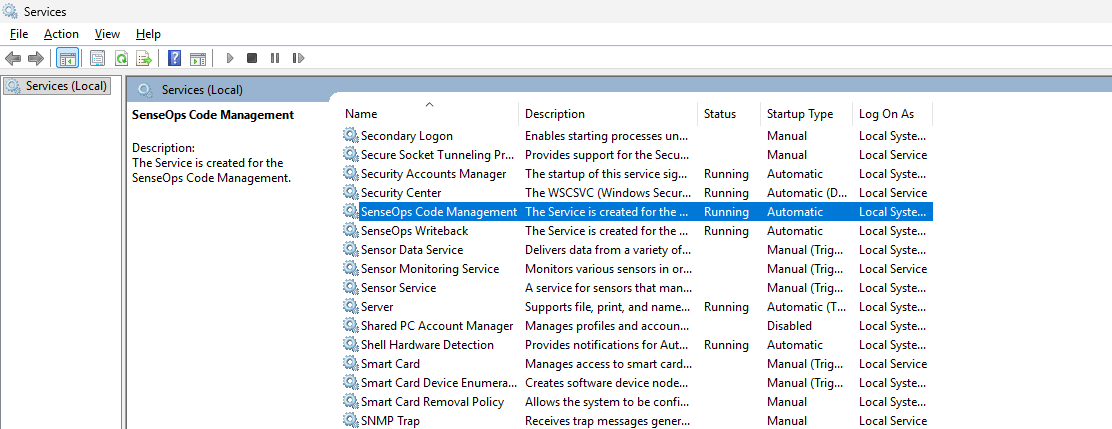
After installation, open Services (services.msc) and verify that the SenseOps Code Management service is listed and running.
Establishing and launching the product
Step 1: Once the SenseOps Code Management service is running, open your browser and navigate to [http://localhost:4040].
This will open the Database Configuration page where you can enter your database details and create user credentials.
- As shown below, first provide the necessary database details.
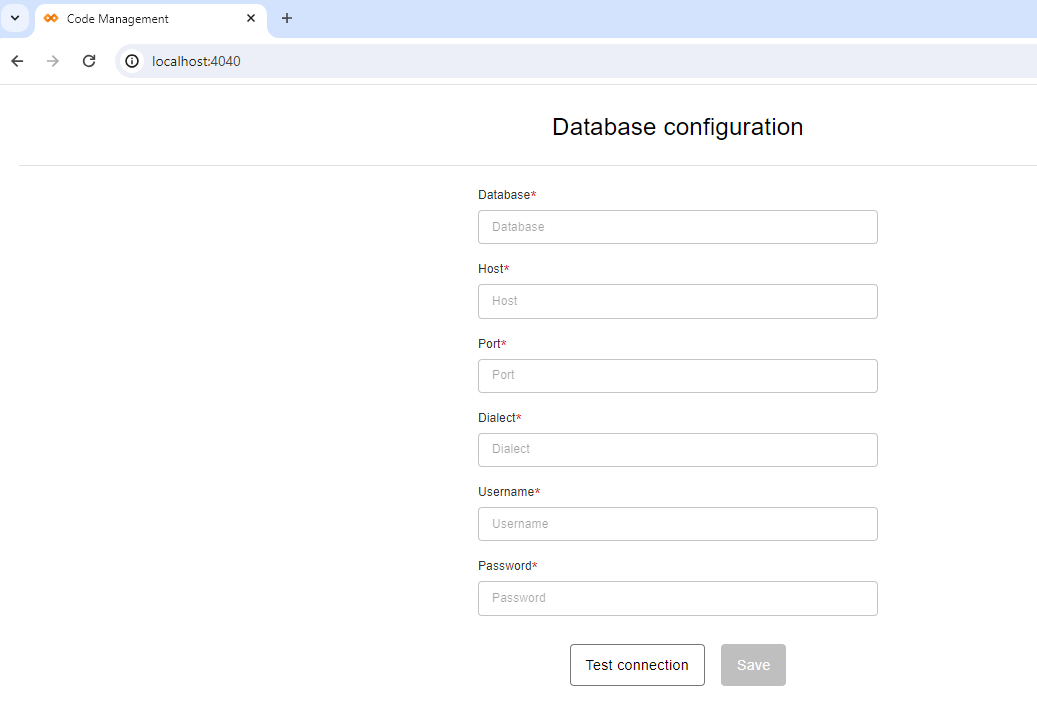
- Then, set up your user credentials by providing your email ID and password.
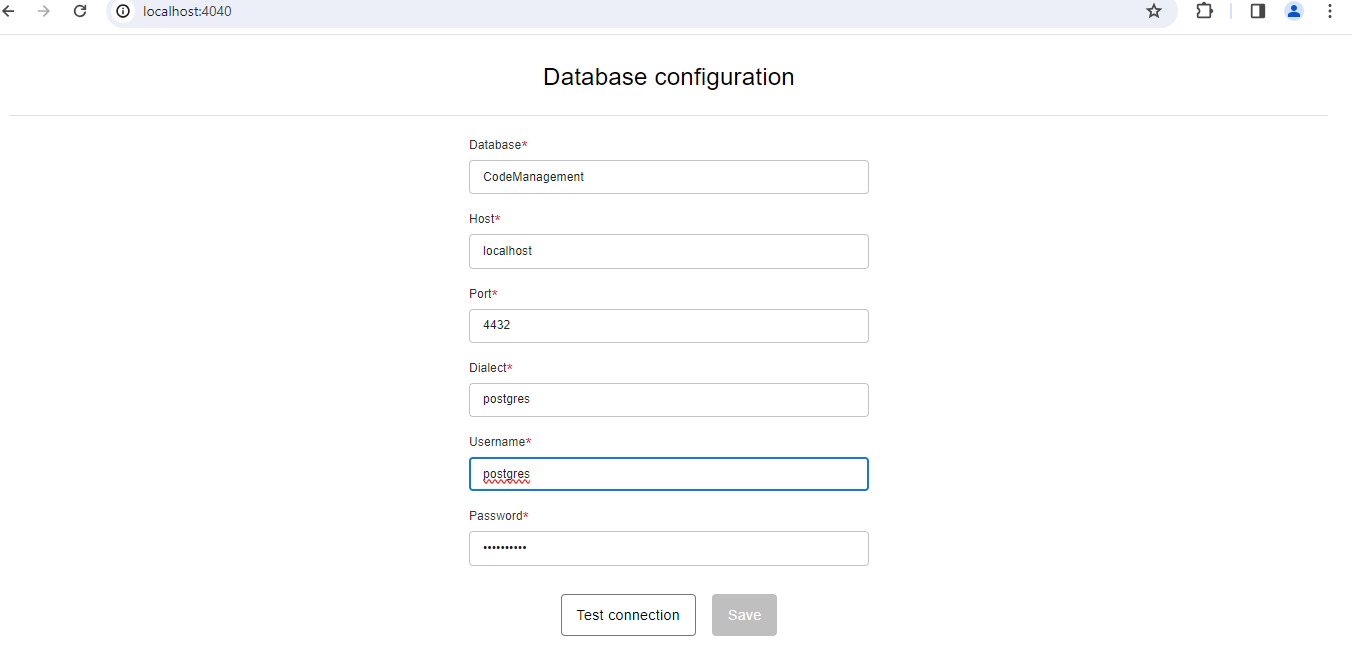
Step 2: click "Test Connection". If the connection test fails or the server appears to be down, ensure that the server is up by typing the command node index.js in the terminal or command prompt to restart it.
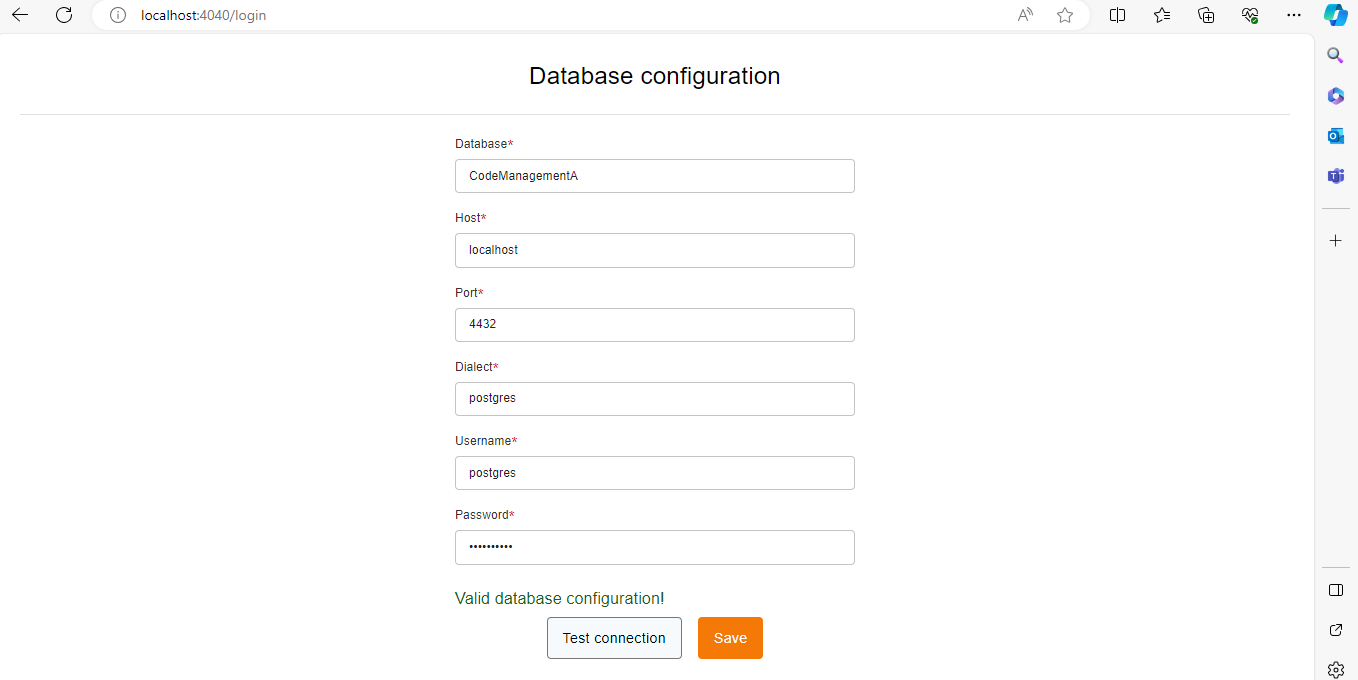
Step 3: Upon successful connection, you'll see a message confirming the validity of the database configuration. Now click on Save to proceed.
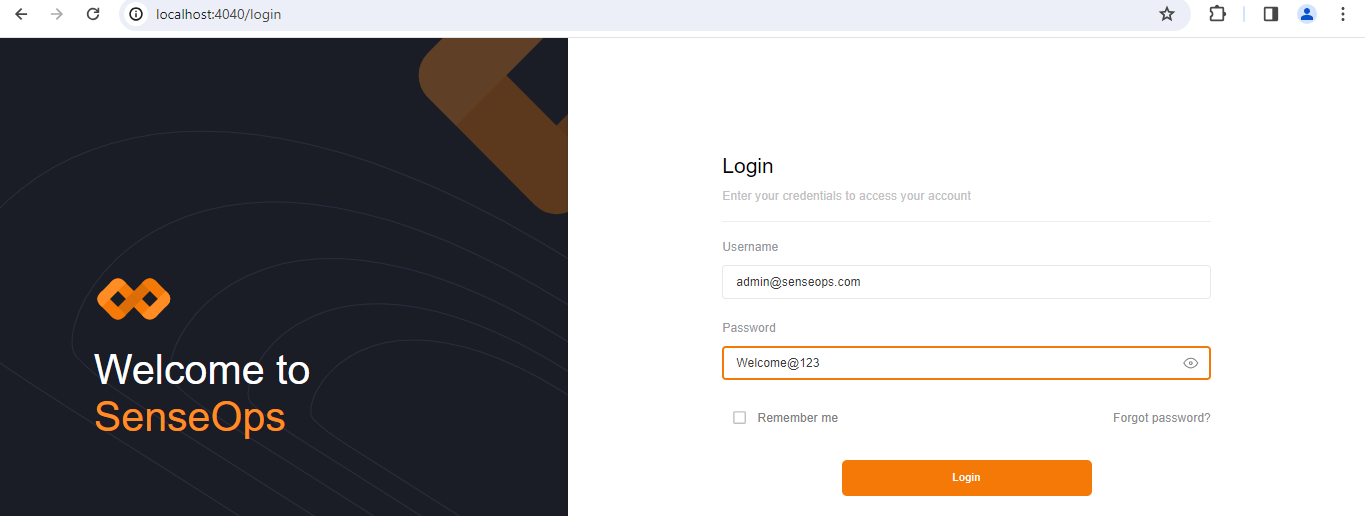
Step 4: Refresh the localhost page, and you'll be redirected to the login page.
Log in using the root user’s username and password that you configured during the database setup.
Tip
Remember, these credentials can be modified later for your convenience and security.
Note
To enable the Forgot Password functionality in the login page, SMTP must be configured under
Settings → Other configurations → SMTP Configuration.
Without SMTP configuration, password reset emails will not be sent to users.

After a successful login, you’ll be directed to the Repositories page, indicating that the installation process is complete. This page acts as the main interface for accessing and managing the product.
Recommended Practice
To ensure better security, scalability, and automation, we strongly recommend using a .env file or system environment variables to manage sensitive information such as database credentials and configuration.
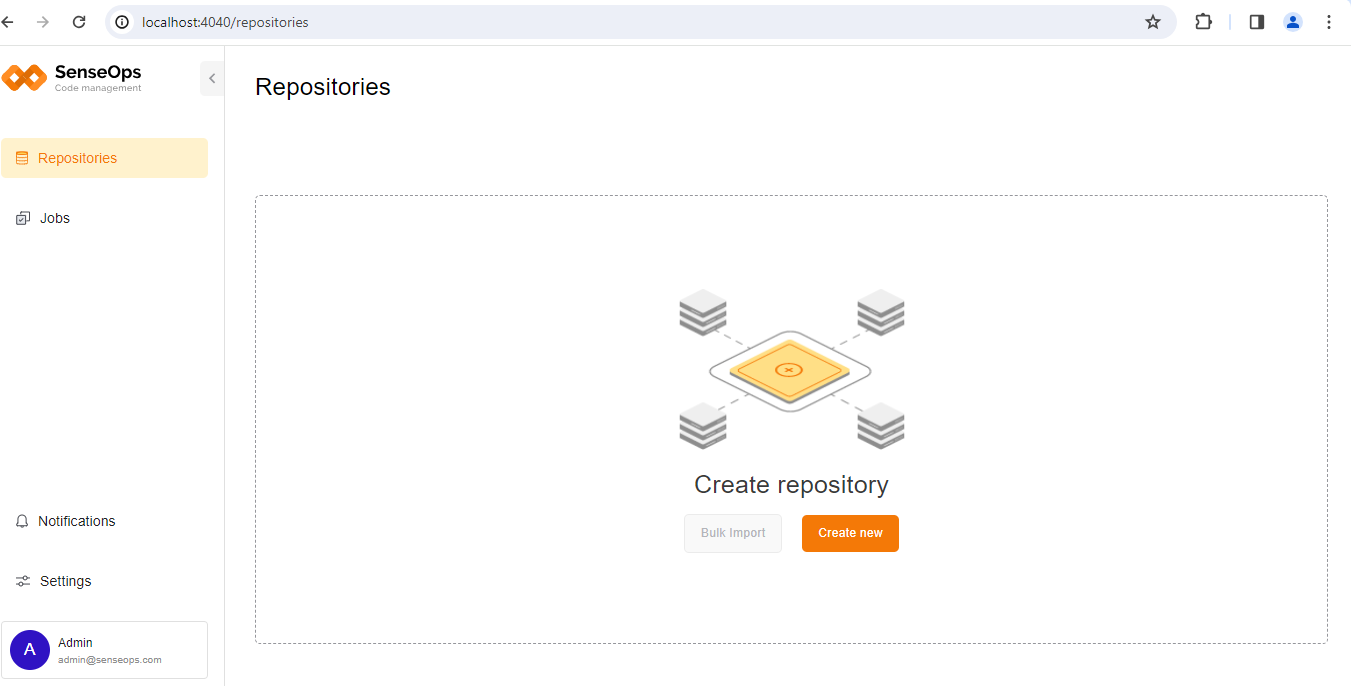
Once logged in, the Repositories page is displayed, indicating that the installation and initial setup are complete.
You can now start working with repositories and Code Management features.